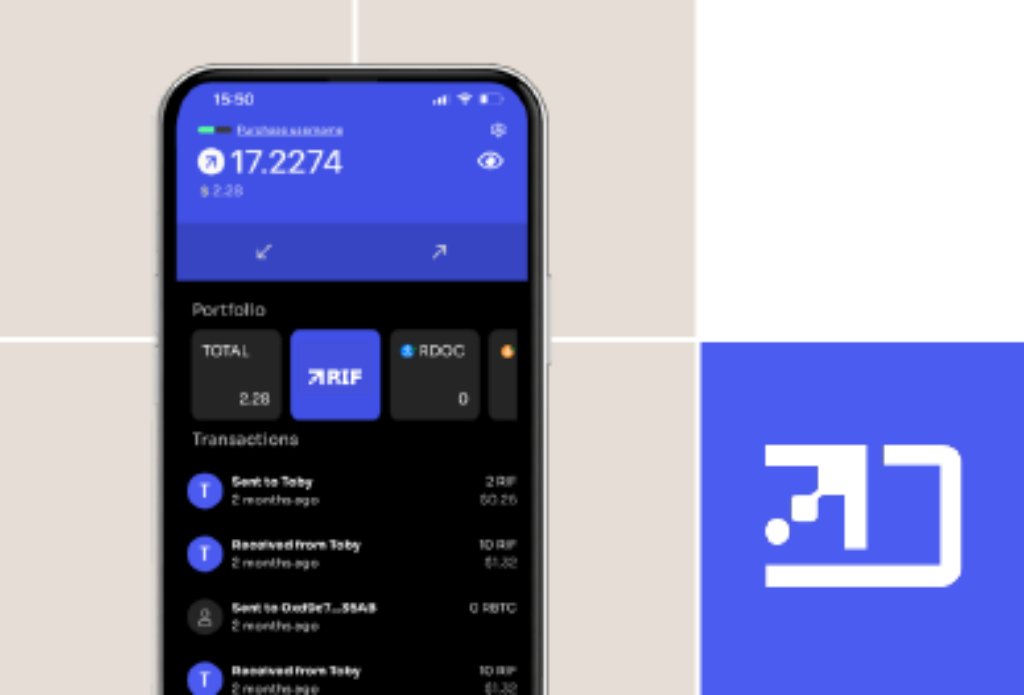
RIF Wallet for Developers: Step-by-Step Guide to Building DeFi Wallets
The RIF Wallet is a self-custodial wallet compatible with Android and iOS. The RIF wallet was created to simplify transactions by allowing users to pay for transaction fees (gas) with ERC20 tokens, such as RIF or USDRIF.
This open-source wallet is designed for the everyday user. That means simplified and familiar UX where users don’t need to know the differences between tokens and gas to be able to perform a simple transaction.
In this guide, we’ll explore how developers can clone and extend the RIF Wallet open-source framework to create customized DeFi wallets.
But first,
What makes RIF Wallet different?
Take this remittance example.
I work in a different country from where my family is, so I can earn money to send home. Perhaps I don’t have a bank account because I can’t verify my identity, or perhaps I do, and I use a conventional money transfer service that eats up my money with fees.
This is a perfect use case for cryptocurrencies. I can convert my money into stablecoins, such as USDRIF, and send that home. Perfect.
But wait, I also need something to pay gas fees – in our example, that would be RBTC. So now I have to own two types of coins and need to explain to my family the same process.
That is where the RIF Wallet comes in. A user can now send money and pay the transaction fees all in one step.
Let’s dive into the code.
Code Structure
The RIF Wallet consists of three different repositories in Github:
- RIF-Wallet – Mobile application written in React Native, which we will be discussing later in the article.
- RIF-Wallet-Libs – Libraries that the mobile application uses that were extracted out to be used in other projects.
- RIF-Wallet-Services – A backend server that connects an Indexer and price feeds. RootstockLabs runs this service for developers to test. So for now, we will connect to this.
It also uses RIF Relay to handle the account abstraction portion of users paying their fees in tokens. RootstockLabs runs this infrastructure in testnet for developers to use.
Setting up your environment
Before you can start working with the RIF Wallet, you will need to set your environment up for React Native. This can be done for Windows, Mac, and Linux. However, only Mac will be able to run the iOS App. For the other two platforms, you can run Android.
The process of setting up your environment is quite extensive and well documented on the React Native site. On their site, make sure you have “React Native CLI Quickstart” selected, and choose your operating system.
The full installation process is quite time-intensive. So, building and running in Android is much easier and faster than in iOS. If you are looking to take a look and get it running quickly, perhaps start with Android.
Getting the code and installing the dependencies
Once your environment is set up, we can clone the repo and start running the App. As mentioned above, RootstockLabs runs the RIF-Wallet server that can be used for testing purposes.
The readme file of the rif-wallet repository has the installation instructions, but let’s quickly go over them here.
1. Get the code
Clone the repo using GIT to your local device:
```
git clone git@github.com:rsksmart/rif-wallet.git
```
2. Install the dependencies
Install the JavaScript dependencies with yarn:
```
yarn
```
Once this has completed, it will also run a post-install script that will add functionality that is available in the browser but not in node. You can read more about this from the package rn-nodify.
Very quickly, packages such as `crypto`, `browser`, `stream` exist in the browser. However, since React Native does not run in the browser, but instead in node, we need to add these packages.
iOS Dependencies.
If you plan to run the app on an iOS Simulator, you will need to install additional dependencies. Remember, you can only run in an iOS Simulator (or device) from a Mac computer.
```
cd ios
pod install
```
If you are on a Mac with an M1 chip, there should be no changes to the repo. If you are running an ARM chip, this step may change the POD lock file – this is normal.
Android Dependencies
Android will install the dependencies the first time you run the app so there are no additional steps here.
3. Run it!
The final step is to run the app in your iOS simulator or Android emulator.
```
yarn ios
// or
yarn android
```
The first time you launch the app it might take a bit of time. There are also `ios:local` and `android:local` scripts, but these are for connecting with a local server.
You should now have the app up and running and can start playing around with it.
If you have any questions or want to learn more about it visit the RIF Wallet website, and follow or give it a star on Github.